deploy a Node.JS application
In this article, we’ll explain how to get started with the Node.JS application Strapi.
Activate a Node.JS hosting package and SSL
- For your domain name, order a Node.JS hosting package (currently only available for BETA testers)
- In Plesk, make sure Let’s Encrypt is active for the domain name
Configure your git repository
- Follow the git repository setup section on this page
- Write down your Github Repository URL
Add your git Repository

- Klik in het Plesk Dashboard op Install application en daarna op Deploy using Git
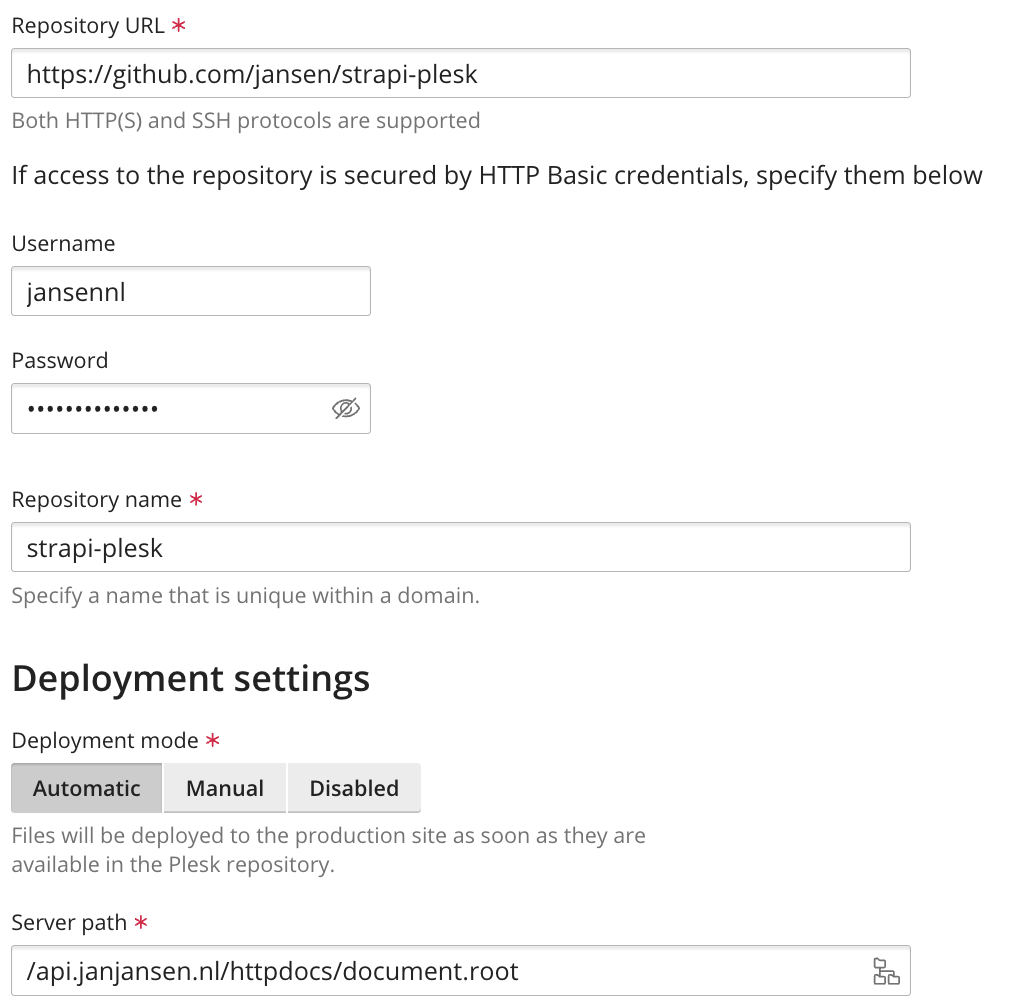
- Click on the Add Repository button
- As Repository URL, enter your Github Repository URL, for example: https://github.com/janjansen/strapi-plesk
- Click Create
Create a database
- In the Plesk Dashboard, click Databases
- Create a database and remember the database name, username and password
Look here for help regarding creating a database.
configure the hosting package
- In Plesk, open the File Management page and open the httpdocs folder
- Rename .env.example to .env
- Open the file .env
- Now fill in all the details
OST=0.0.0.0

PORT=1337


# `sqlite` or `mysql`

DATABASE_CONNECTION_NAME=mysql


DATABASE_HOST=localhost

DATABASE_PORT=3306

DATABASE_NAME=app_apidb

DATABASE_USERNAME=app_apidbuser

DATABASE_PASSWORD=XJX3yxt6gmx!due2twn


# node -e "console.log(require('crypto').randomBytes(64).toString('base64'))"

JWT_SECRET=

ADMIN_JWT_SECRET
Starting your Node.JS application
- In Plesk, click Install application again and then Node.js
- Select as Document Root folder the document.root folder in the httpdocs folder
- As the Application Startup File , select the file server.js
- Click on Enable Node.JS button

- Strapi has now started

install dependencies
- In Plesk, click Node.JS and then NPM Install to install all dependencies


