How do I set up my email in Thunderbird?
Besides regular e-mail clients like Microsoft Outlook and Apple Mail, of course, you have plenty of (free) alternatives. Mozilla has an e-mail client called Thunderbird, which is a great alternative to the usual e-mail clients. Thunderbird is a free e-mail application that is easy to set up and customize. In addition, Thunderbird is packed with useful features! For example, you can add contacts to your address file with one click, you can send attachments along with calendar invitations and there is even a handy chat feature that you can link to the Social media account.
Don’t own the free e-mail program Thunderbird yet? You can download Thunderbird here.
Setting up mail in Thunderbird
Setting up your mail account in Thunderbird is easy. Below is the roadmap.
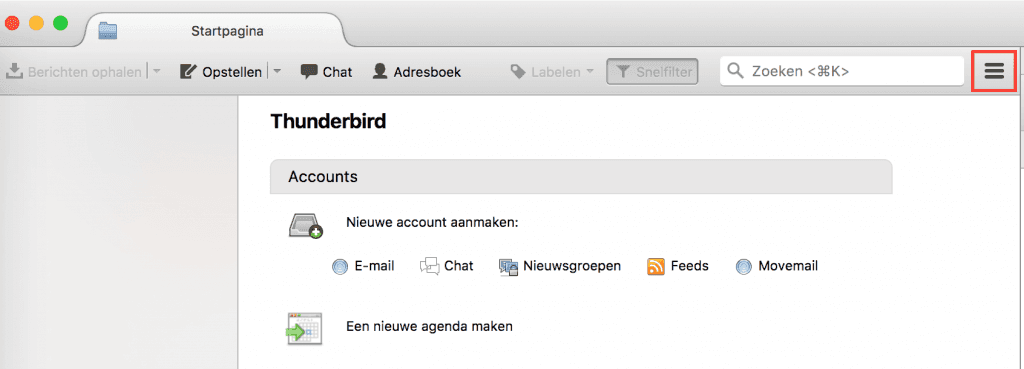
- Open the Thunderbird mail program.
- Click on the 3 stripes on the right -> New Message -> Existing Email Account.

- Enter the account name, email address and password and click Continue.
- Click Manual configuration.
- Under Incoming, select: POP3 or IMAP:
- Host name: The server name of your hosting package. You can find these in My Hosting under Services -> Select the appropriate package -> Hosting information
- Port: 995 for POP or 993 for IMAP
- SSL: SSL/TLS
- Authentication: ‘Normal password’
- For outgoing, enter the following:
- Host name: The server name of your hosting package. You can find these in My Hosting under Services-> Select the appropriate package -> Hosting information
- Gate: 465
- SSL: SSL/TLS
- Authentication: ‘Normal password’
- Click Retry/Retest/Ready.
- Your mail account is now ready to use.


