Getting started with a VPS with OnlyOffice Docs
Follow the steps below to order a VPS with the OnlyOffice Docs Community Edition. You can use this VPS with OnlyOffice Docs in conjunction with Nextcloud, for example, to edit Documents and Spreadsheets online. You can try a demo HERE.

Note: You need a working Nextcloud environment in addition to this VPS with OnlyOffice Docs. Haven’t you got that yet? Then activate it here.
Order a VPS with OnlyOffice Docs
Visit https://hosting.nl/products/vps/appstore/onlyoffice/ to set up a VPS with OnlyOffice Docs. A minimum of 2GB of RAM and 32GB of disk space is recommended. Select as Operating System / Operating System Ubuntu 22. Under Software Installation, choose OnlyOffice.
As the name of the VPS with OnlyOffice Docs, enter a subdomain such as documents.yourdomainname.com
Find out the secret key and activate SSL
To start using OnlyOffice externally, you need the secret key (JWT). In addition, it is necessary to set up a secure connection.
Find out the secret key
- Log in via SSH to your VPS with OnlyOffice Docs using these steps
- Once logged in via SSH, run the following command
sudo cat /etc/onlyoffice/documentserver/local.json | grep string | head -n 1 | awk {'print $2'} | tr -d '"'Note the secret key shown. Don’t log out yet.
Activate SSL
- In the DNS, point documents.yourdomainname.com to the ip address of the VPS with OnlyOffice Docs
- Via SSH, execute the three commands below. Replace voornaam@domeinnaam.nl with your own e-mail address and documents.yourdomainname.com with your previously conceived subdomain.
sudo snap install --classic certbot

sudo ln -s /snap/bin/certbot /usr/bin/certbot

sudo bash /usr/bin/documentserver-letsencrypt.sh voornaam@domeinnaam.nl documenten.jouwdomeinnaam.nl
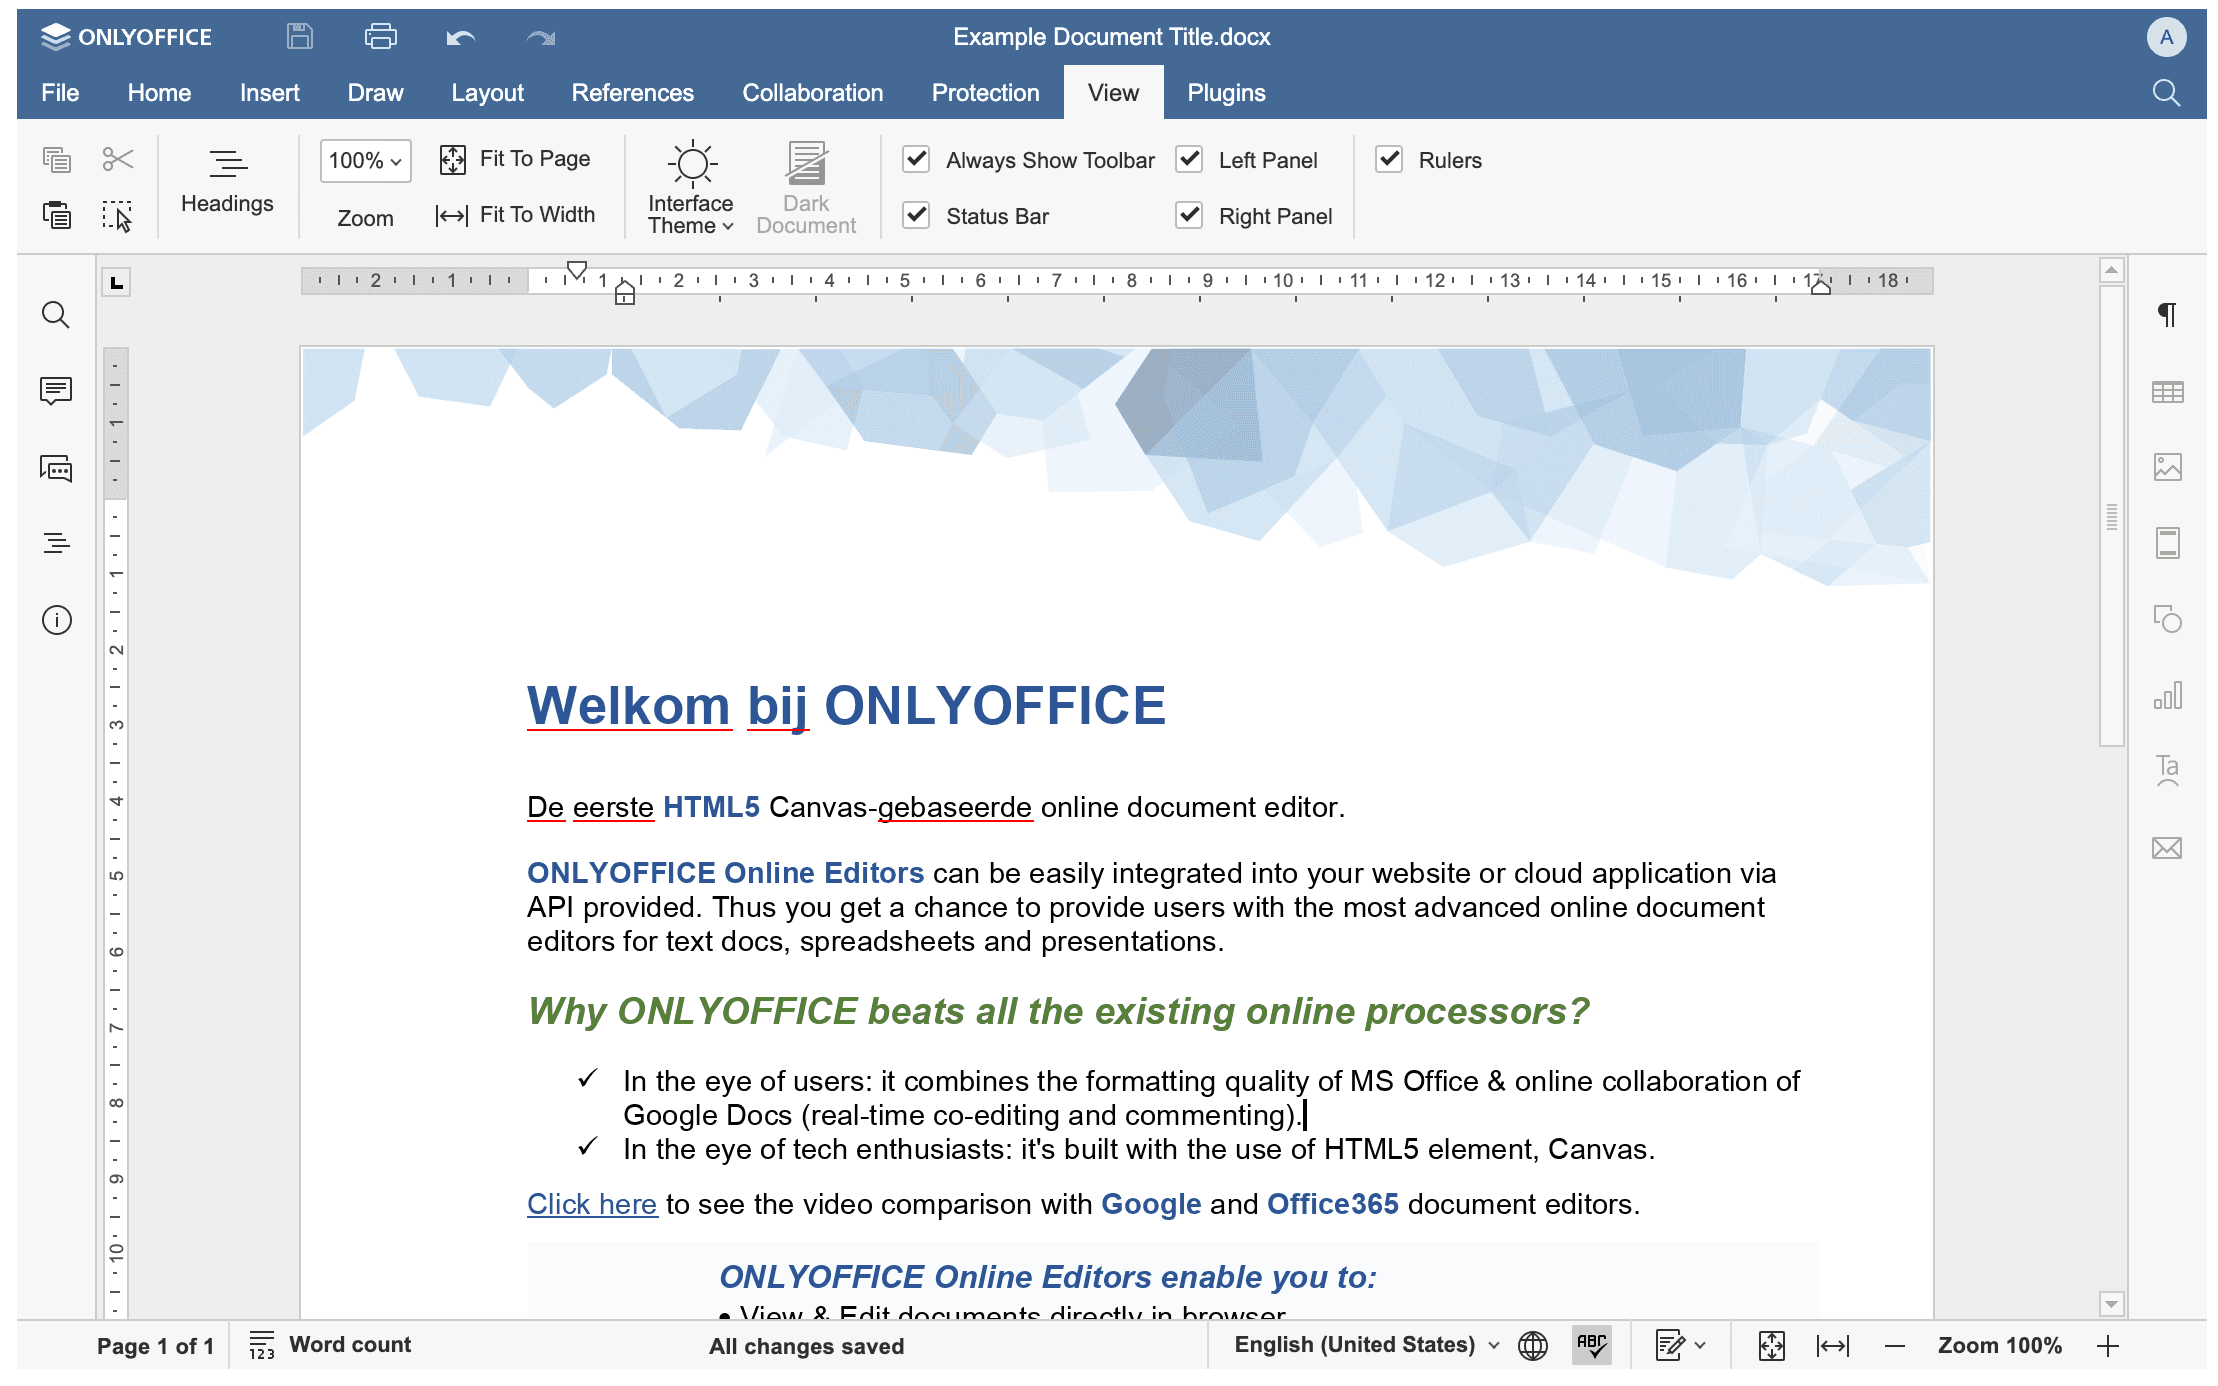
After running these commands, you know everything is working if you can visit https://documenten.jouwdomeinnaam.nl in and see this page:

Now follow these steps to connect OnlyOffice to Nextcloud
