This is how to make your WordPress website static
A static WordPress website offers advantages of speed, security, manageability and cost savings. It can be an excellent choice for certain purposes, such as personal blogs, portfolios or informational Web sites, where interactivity and dynamic content are less important than performance and security.
The steps to make a WordPress website static
Order the right hosting package
To make WordPress static, you need a hosting package with space for at least two websites. For example, the smallest package from Hosting.NL is already sufficient. Order the hosting package for the domain name of your future static website, for example, janjansen.nl.
Set up the hosting package
After ordering the hosting package, log in to the control panel and add a second website for the domain name static.janjansen.nl (replace janjansen.nl with your own domain name). While adding the second website, choose to install WordPress directly. If that didn’t work out, you can also easily install WordPress afterwards.
Adjust the DNS
In the DNS of janjansen.nl (replace janjansen.nl with your own domain name), point the subdomain static.janjansen.nl to the ip address of your hosting package. You can find the correct ip address in the control panel under Connection Information.
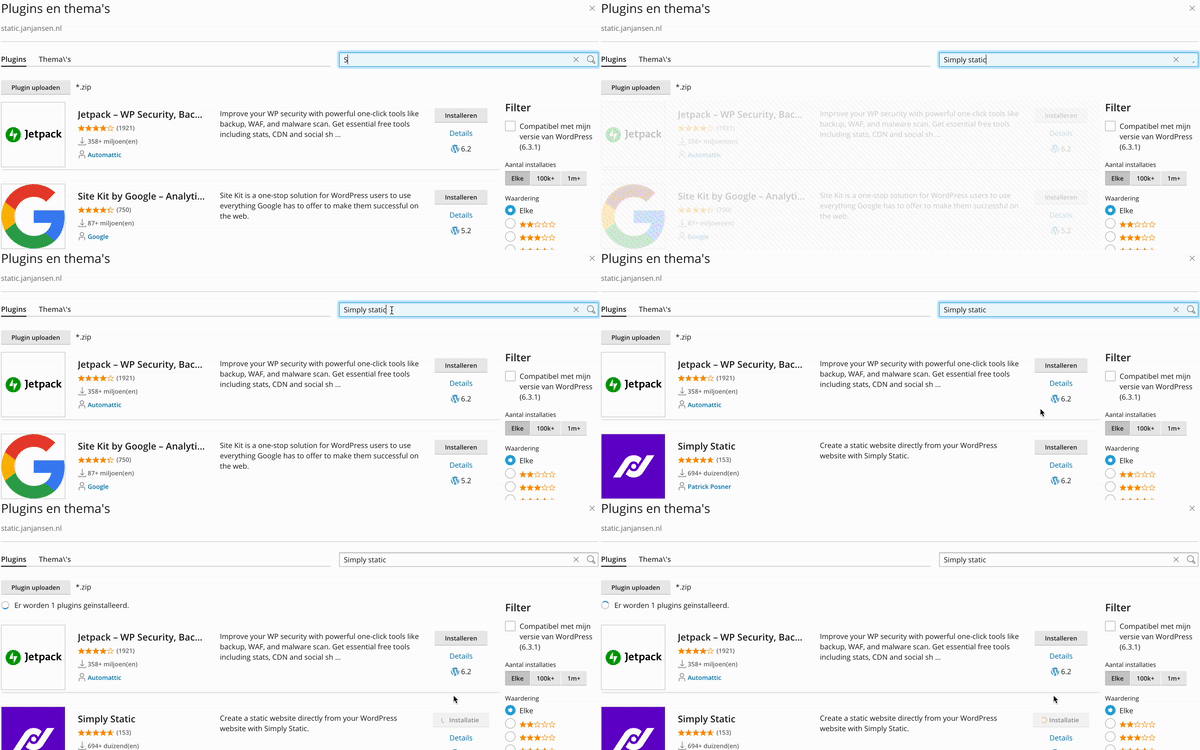
Install the Simply Static plugin
After WordPress is installed, install the Simply Static plugin. Using this plugin, we are going to make the website static.

Configure the Simply Static plugin
To configure the Simply Static plugin, first log into WordPress. You easily log into WordPress by clicking on Sign In in the control panel. Can’t find the Sign In button? Then follow this step-by-step guide.
After logging into WordPress, click on Simply Static in the left menu bar , then Settings and then Deployment.
Next, choose Local Directory as the Deployment Method and then click the Copy home path button. Now paste what was copied into the field above it (“Path”) and modify it in the following way:
/var/www/vhosts/janjansen.nl/static.janjansen.nl/and
/var/www/vhosts/janjansen.nl/httpdocs/Then click Save settings to save the changes
Generate and deploy your first static website
Within the Simply Static plugin, click the purple Generate Static Files button at the top left.
Adjust the DNS
Now modify the DNS of janjansen.nl (replacing janjansen.nl with your own domain name) to the ip address of your hosting package. You can find the correct ip address in the control panel under Connection Information.
It was! After the DNS information is updated, you will find a static WordPress website on your domain name. What are you waiting for?
