How do I set up my Hosting.NL Email for Apple Mail
Also in Apple Mail, you can just receive your Hosting.NL e-mail coming in to your domain name. You can arrange this yourself quickly and easily. We always use the latest versions of Apple mail, so there is a chance that not all fields may be the same as the images or steps below. If you are using an older version and can’t figure it out, please contact us. We do always recommend keeping your devices up to date and installing the latest software.
Follow the steps below to set this up.
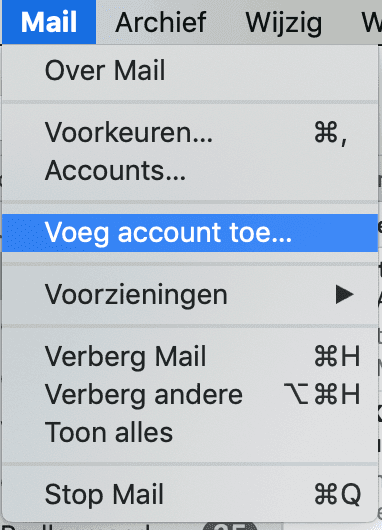
- Open Apple mail and click on“Mail.
- After this, click“Add account.

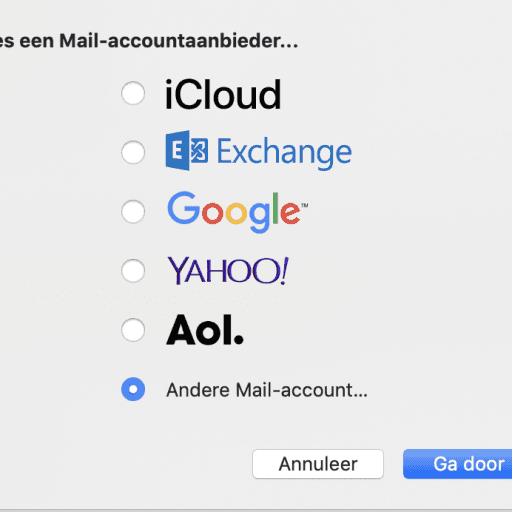
- Then click“Other Mail account” and then“Continue.

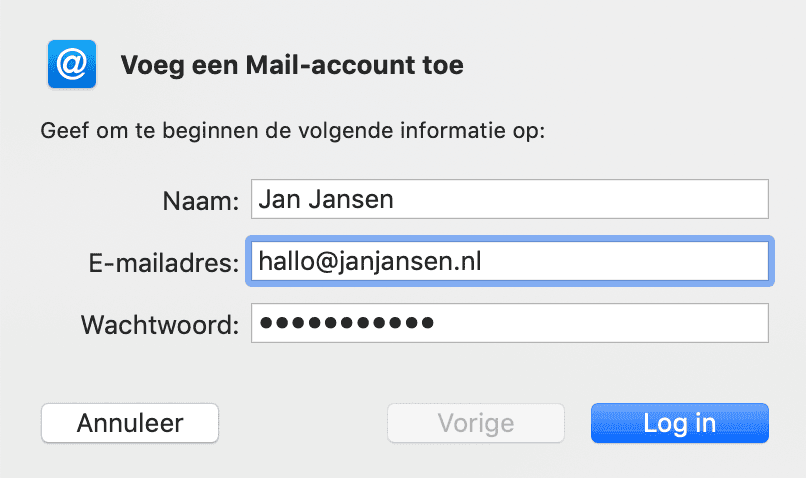
- Then enter the following information: ‘Account Name‘,‘The E-mail Address‘ and ‘The Password‘ and click‘Log In‘:

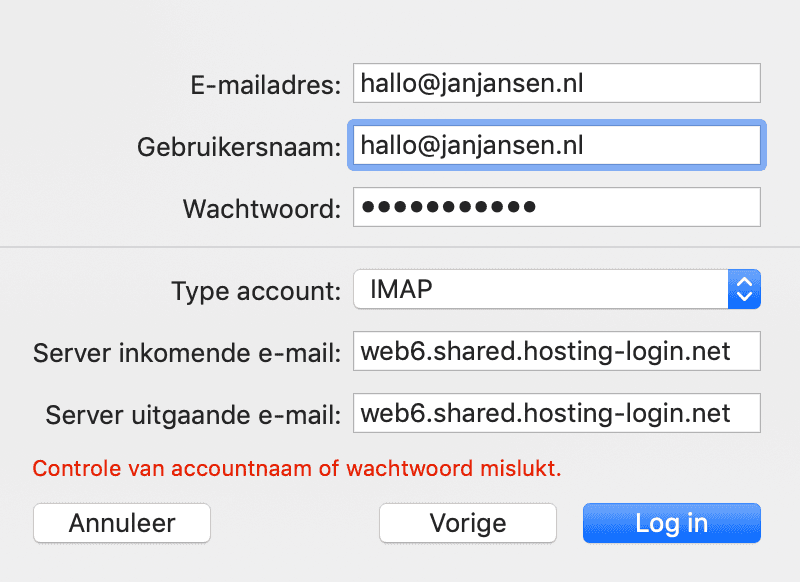
- Then you will come to a screen, where your e-mail address and password are already entered. To be safe, do still enter your username here (this is often the same as your email address):
 – Then under‘Type of account‘ choose‘IMAP‘
– Under“Server incoming and outgoing email,” enter. The server name of your hosting package in. You can find these in
My Hosting
under‘Services‘ -> ‘My Services‘ -> Select the appropriate package -> under‘Hosting information‘ is the‘Server‘.

- Once you have completed all of the above fields click on thenlog in.
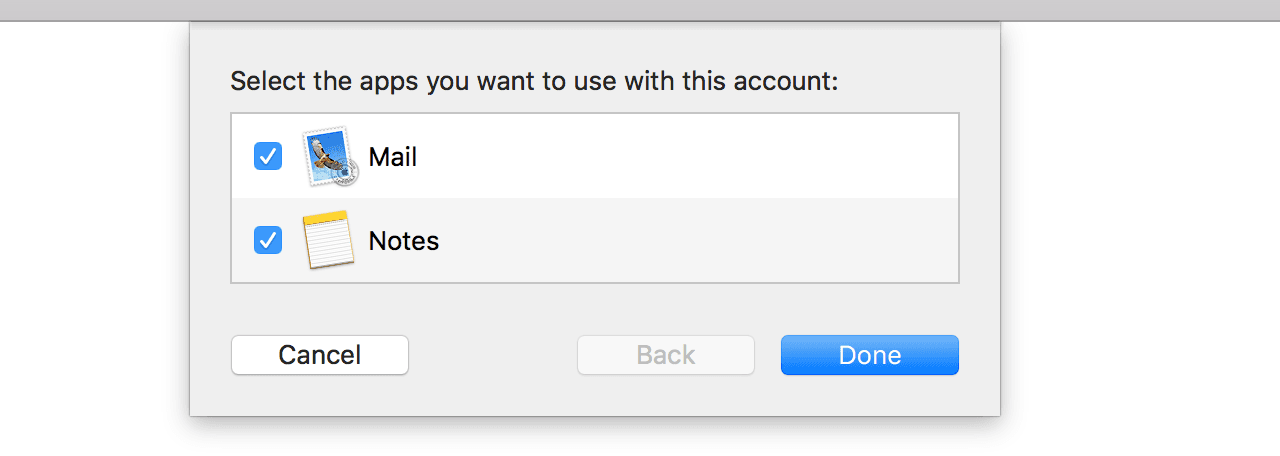
- After this, click“Done. Your email address has now been added in Apple Mail.

 – Then under‘Type of account‘ choose‘IMAP‘
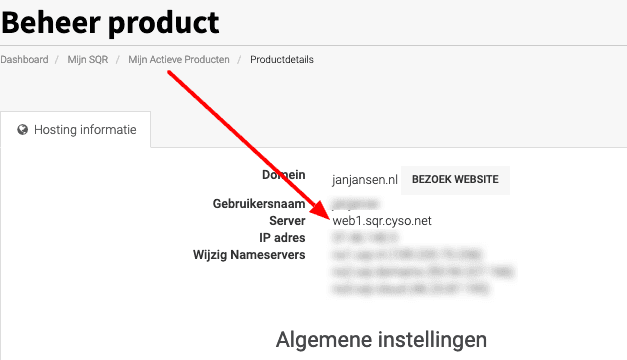
Modify existing account
Have you already set up your account, but something has changed, such as a password or email server? Then follow the steps below.
- Open Apple mail and click on“Mail.
- After this, click on“Preferences.
- Click on the account where the change is to be made:

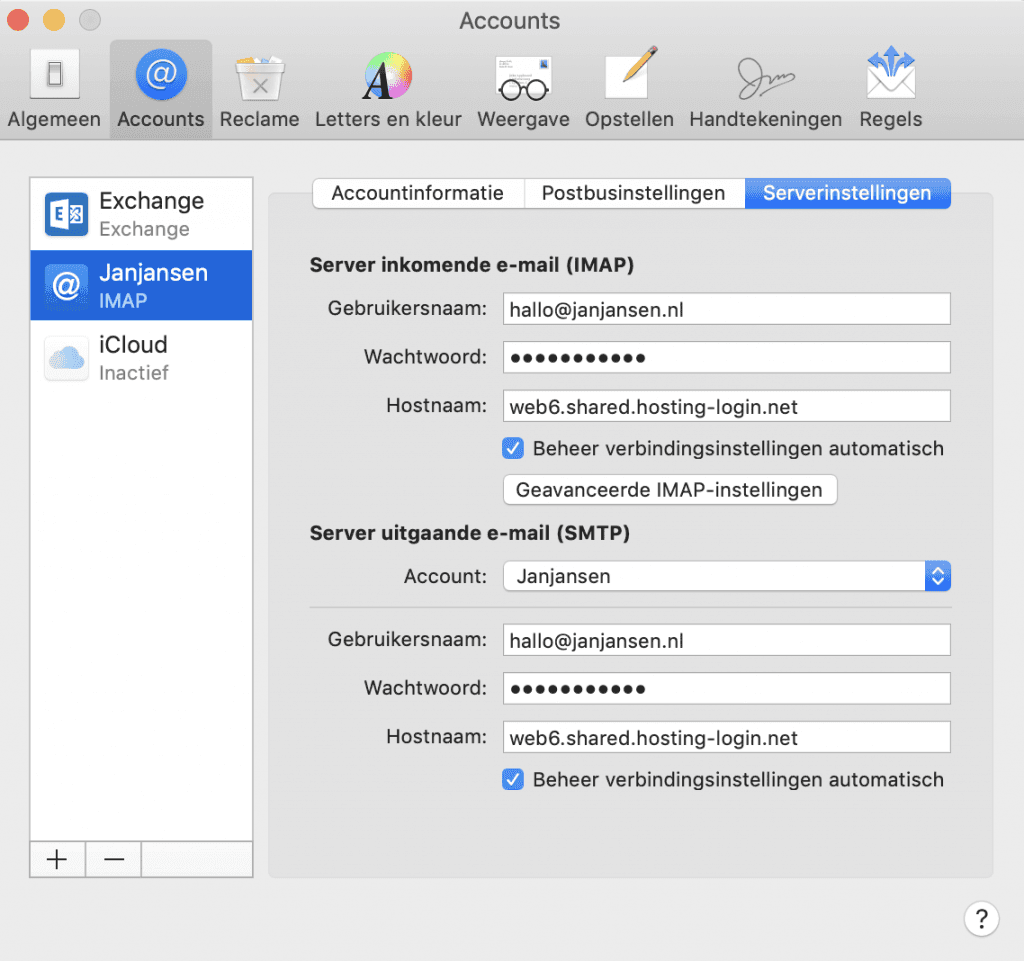
- Go to the“Server Settings” tab.
- Update the data you need to change to the new one.
- If you change incoming or outgoing mail server, also check right away that the port settings are correct.
– To do this, uncheck the checkbox before‘Manage connection settings automatically‘.

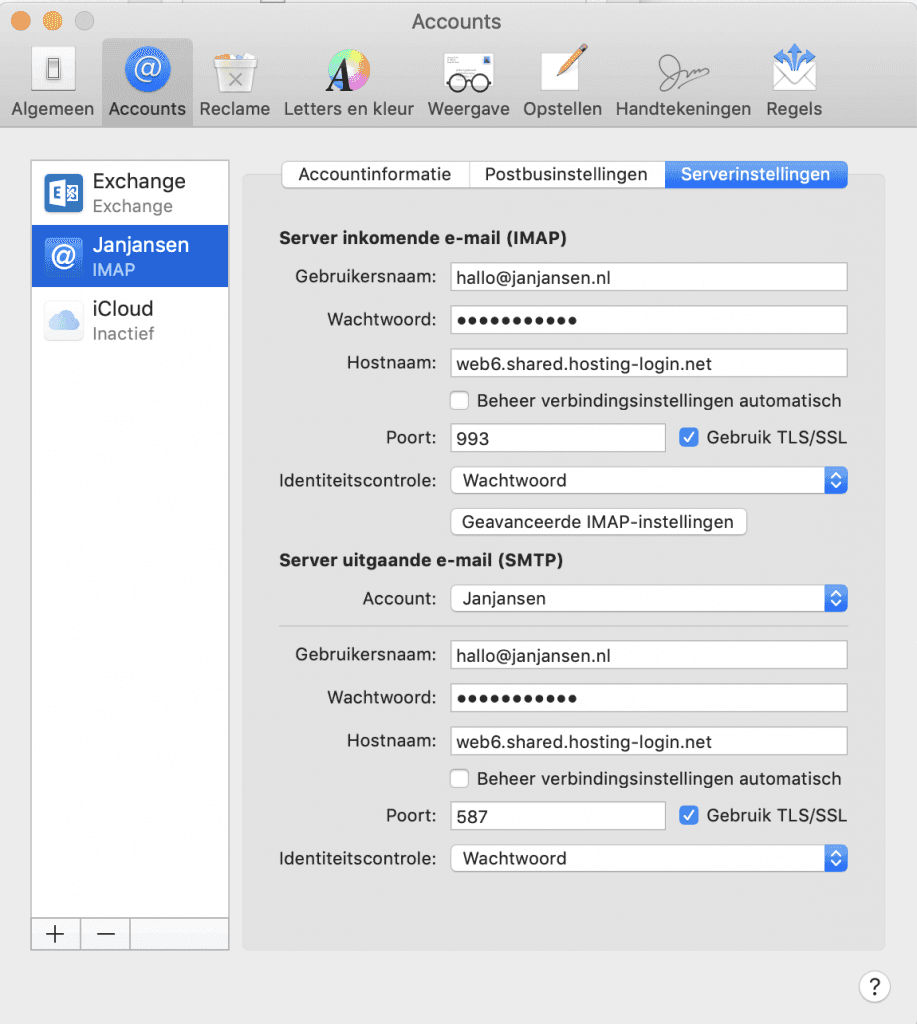
- Port settings and identity verification are now displayed. With email from Hosting.NL, use the following settings:
– Incoming port IMAP: 993
– SSL: on
– Identity Check: Password
– Outgoing port SMTP: 465 or 587
– SSL: to
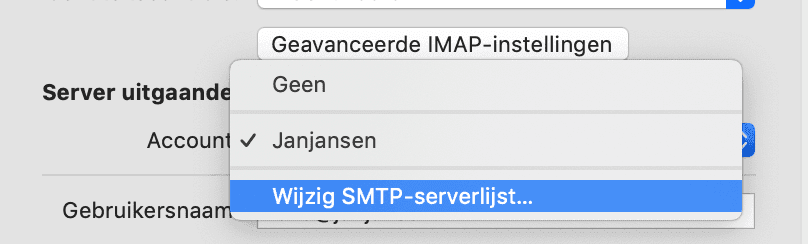
– Identity Check: Password - Sometimes you still can’t send email after saving these changes. This is because the main server is still using the old settings. To do so, click on“Account” under“Server outgoing e-mail (SMTP).

- Choose“Edit SMTP server list.

- Check and adjust if necessary.
- Click“OK” and your account has been changed.