Create, set up and link Google Analytics for WordPress

After building your (‘WordPress’) website or web shop, you naturally want to see how many visitors you get, where those visitors come from and what pages they visit. You can do that with Google Analytics. Through Google Analytics, you can easily view the statistics of your website.
This is a short step by step guide on how to create and link Google Analytics with your
WordPress website
. Let’s start right away.
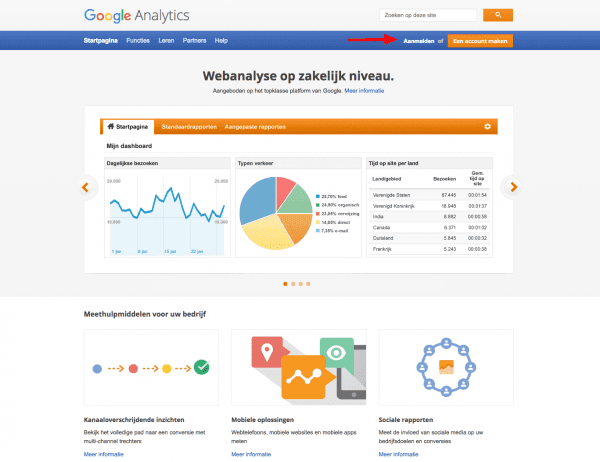
Go to the website of
Google Analytics
Then click on “Create an account.

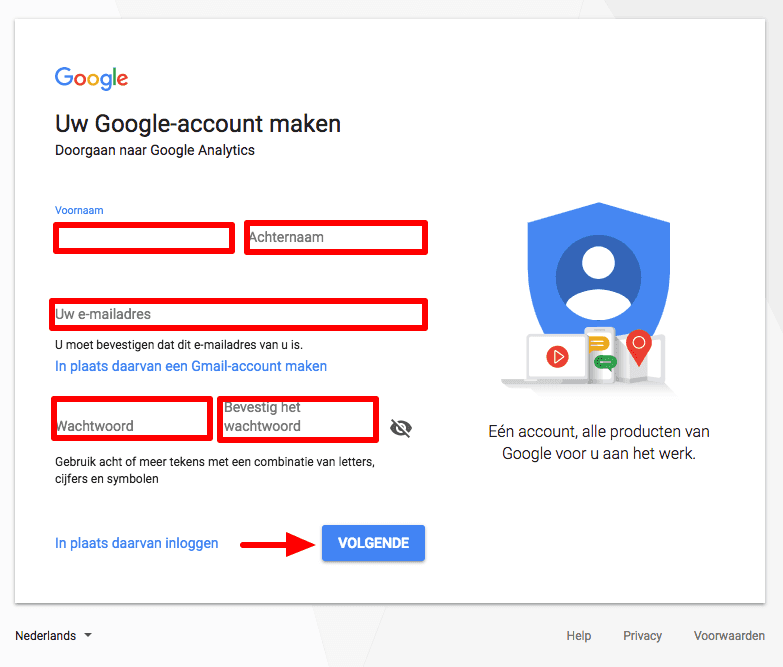
Log in with your Gmail account
Don’t have a Gmail account? Then click ‘SIGN UP’ at the top right and go through all the steps.
Sign up for Google Analytics
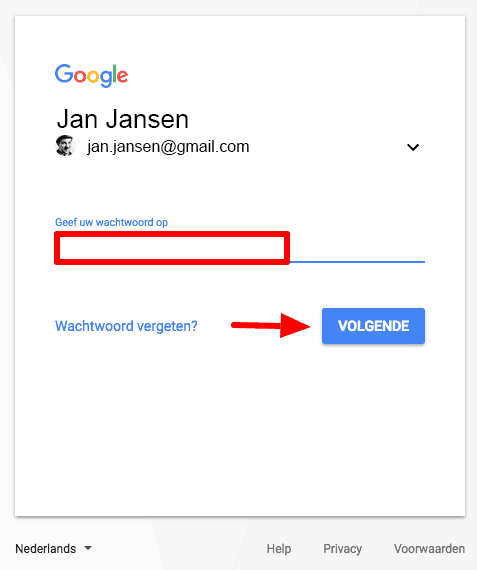
Click on “Sign in.
Adding website to Google Analytics
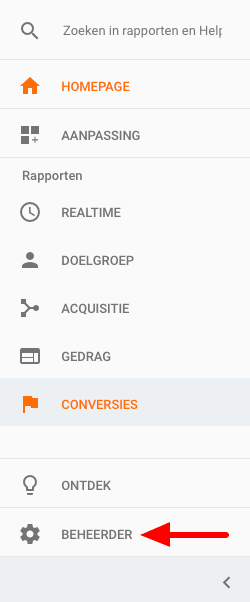
Select “Administrator” at the bottom left.
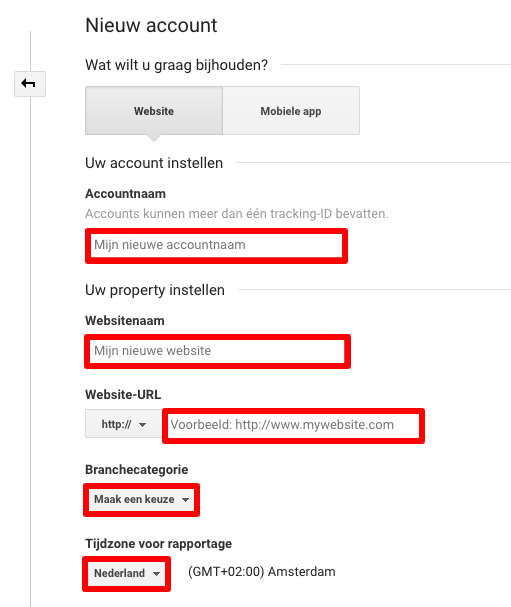
Property setting
Create an account name from which you will analyze your website(s). Enter the name of your website at ‘Website name’, your URL at ‘Website URL’, select the ‘Industry category’ of your website (no idea? then select other) and select the ‘Time zone for reporting’ Netherlands.
Data sharing settings
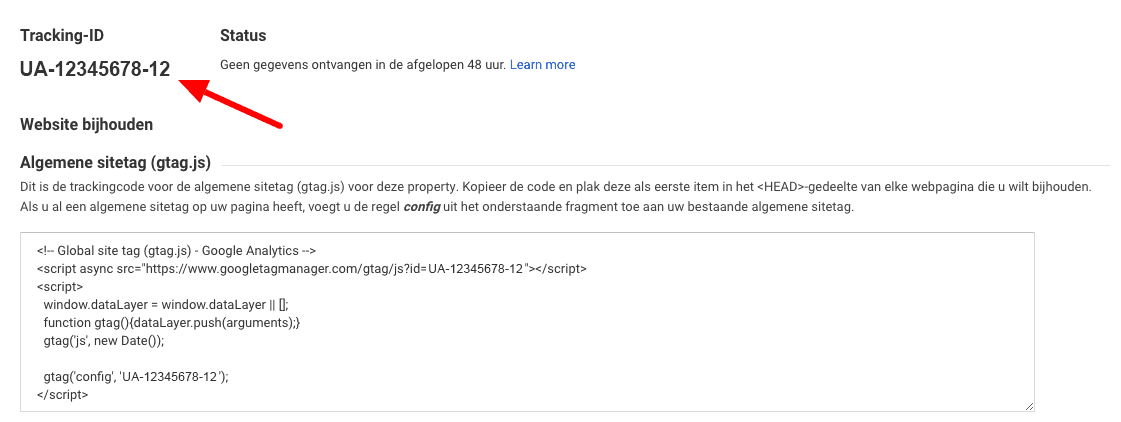
Data sharing settings are optional. So you can leave them all on or turn them off. It is a personal choice. Then click on “Retrieve Tracking ID. The next screen displays the UA code.
![]()
Implement code
Now you just need to place the code from Google Analytics on your website. We are going to do it via the easy (non-technical) method. Via a plugin.
Leave this page open. You will need the tracking ID later.
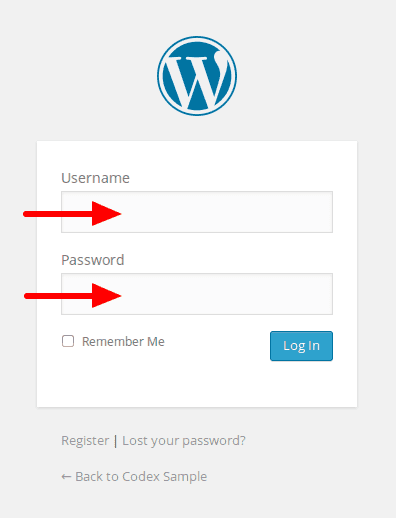
Log in to your WordPress website.
Look for the Google Analytics plugin.
Through “Plugins,” click on “New plugin. Then in search, type ” Google Analytics.

Select a plugin
There are several plugins, but you can easily choose “Google Analytics for WordPress” (extended) or ” Google Analytics. Some themes already have the ability to link Tracking ID. Check that first before installing an additional plugin. Then you can go to step 14.
Then click “Install Now.

Activate the Google Analytics plugin
Click on “Activate Plugin.

Go to the plugin
Go to the Google Analytics plugin via “Settings.
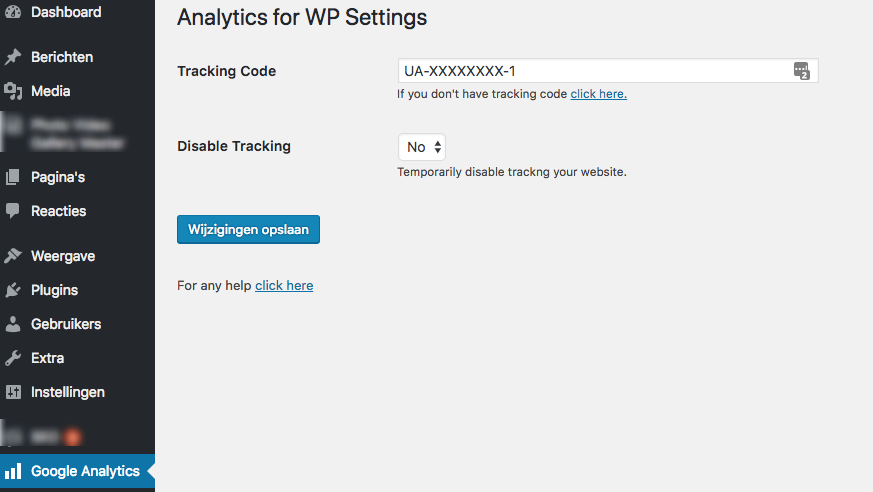
Enter your UA code(from step 7) in the Tracking Code field.
Finally, click “Save changes.
Google Analytics is now activated and installed on your website.
Wait
It always takes a while for Google Analytics to verify the account and start measuring statistics.
Within a few hours to 2 days max, the first statistics are in. Then, to measure and analyze visitors through Google Analytics, all you have to do is log in through Google Analytics.
You can grant multiple people access to view your analytics. See
here
How to add a user.
Hungry for news?
Subscribe to the Hosting.NL newsletter and stay informed. Your data will be used to send news, technical updates, and support articles.